Blog Post Outline
In this guide, we will walk you through the steps to get started, explore the features, and provide helpful tips
Overview
The tool is designed to simplify the process of structuring a blog post. By just inputting the title of the article, the tool generates a comprehensive outline to guide you through the writing process.
Getting Started
To access the tool, sign up for a subscription plan*. After completing the registration process, log in using your credentials.
* here is more about Pro and Free versions.
Follow these steps to use the tool effectively:
-
Select the desired AI model (Basic GPT-3.5 or Premium GPT-4) from the dropdown menu.

Suitable for basic tasks and quicker results, GPT-3.5 consumes fewer tokens and offers faster processing.
For more advanced tasks and higher-quality output, select GPT-4 which provides the best results but requires 5x the tokens and has a slower processing speed.
- Input the article title.
Ensure the title is representative of the content you aim to develop. - Click Generate to initiate the outline creation process.

- Review the generated blog post outline.

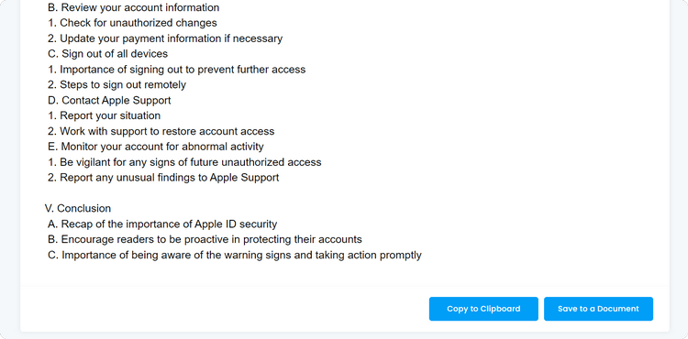
Once satisfied with the result, click "Copy to Clipboard" or "Save to a Document" to store your rewritten content.
Tips for Effective Blog Post Outline Generation
- Be clear and specific with your title: the more precise your article title, the better the tool can generate a relevant and detailed outline.
- Refine the outline: the generated outline serves as a guide. Feel free to customize it to match your writing style and the specific needs of your content.
- Consider your audience: when finalizing the outline, consider your target audience's preferences and what they would find most valuable and engaging.